Emulating the Sharp X68000 on PSP
Written on October 14th, 2021 by Pierre L
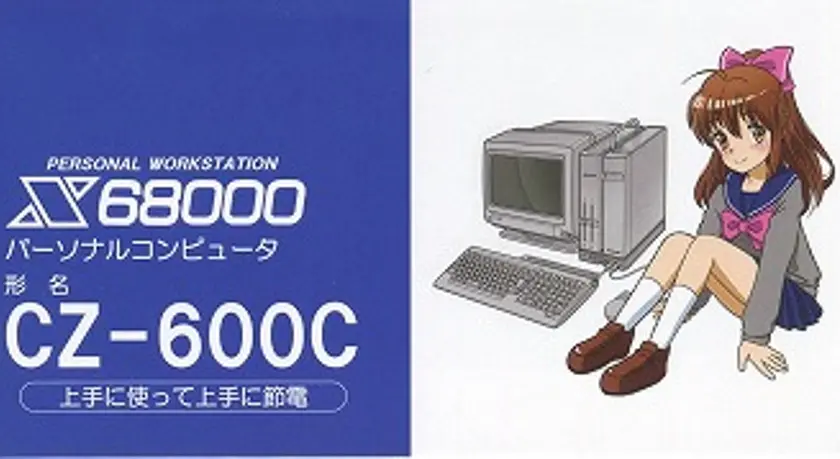
The PX68K emulator saw its first release in August 2013 and by then, the PSP homebrew scene had already shrunk to a fraction of its former size. That explains the obscurity of this otherwise solid emulator for the Sharp X68000, a Japanese home computer from the late 1980s.
PX68K is the creation of Hissorii, the Japanese developer who had previously worked on the NP2 emulator after its original creator abandoned the project.
BIOS files
To boot, the emulator requires the following system files to be placed in the .keropi folder:
- iplrom.dat, iplrom30.dat, iplromco.dat, iplromxv.dat
as well as specific font files:
- cgrom.dat, cgrom.tmp
The files are not included in the package. “X68000 emulation files” are good keywords at the moment.
Loading software
Once the system files are in place, pressing Start will display a loading menu.

For many games, nothing else is required - load the disk (or disks) through the dialog screen, and the game will simply launch.
Downloading more RAM
Some later X68000 games won’t be satisfied with the 1 MB of RAM that the emulator makes available to them as a default. In these cases, the available memory can be bumped up (to a limit of 4 MB, according to the readme) by using Human68k.
Load Human68k like any other floppy-disk program, reset the system and you will be greeted by a sepia GUI.

Press Start to activate mouse movement in the PX68K menu, and select COMMAND.X. Once the command-line interface is loaded, press Select to display the on-screen keyboard. Type switch.x and press Enter.
Use the arrow keys on the OSK to select MEMORY, and increase it to the necessary amount. 2 MB should be enough for most games.

Scroll down to the last line in the menu, press Enter, then Y.
Now the memory-hungrier games should load without error.
Hard drive images
The emulator supports hard drive images in the HDF format (but not HDS). They can be up to 40 MB in size. The user interface has no option to mount hard drives, but it is possible to add them by changing the config file in the .keropi folder.
Open the file with a text editor, and change this line:
HDD0=./hard_drive_path/HD.HDF
The easiest way to create virtual hard drives is to use the XM6 emulator on Windows. This post briefly explains the setup process, and how to copy files to a newly created drive.
DiskExplorer is a Windows app that can easily move and copy files over from HDS images.

